Most garden netting requires some kind of frame. Knowing which ones will work best can be a nightmare when you are starting out. If you look around at the other allotments it will give you ideas but will not help as they are usually all different.
When I was asking which type of netting would be best I was given the best advice I could have been, although it didn’t feel like it at the time. They simply said that I would find what was right for me over time.
This did not answer any of my questions like: What size should I get? Should I have curved or straight? Is bamboo better than metal? Which is easiest? And much more.
So I will say the same to you. You will discover what is best for you in time. For each person it is different. You do need a net, however, unless you want your plants taken out!
I will however also give you some ideas based on my experience, research, and observations so that you can make a more informed decision early on.
Making Your Own
The Most Basic of Netting Frame
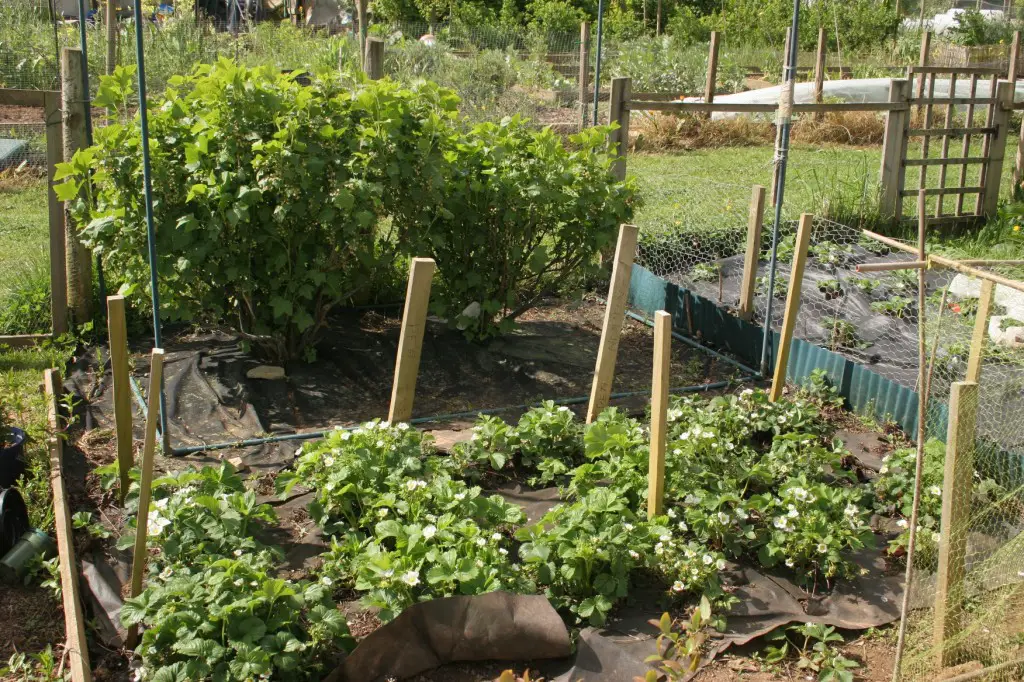
The most basic frame I have seen is simply net resting over some thick sticks and tied down on each side. This is cheap and easy to do. Although it may not suit all plants.
Using Bamboo Lashed Together
Basing my netting plans on my neighbour’s beautiful and easy to get into frames but without the budget, my first attempts were quite elaborate. I lashed together bamboo using nothing more than ties twisted around them.
A huge fame that took up most of one side of the allotment. This was designed so that all I had to do was untwist a couple of the ties and I could get into it and garden with ease.
Good plan. But it failed. What I didn’t take into account was the net’s tendency to get tangled in everything around it or its movement in the wind. It had small barbs as well so that when I moved it back it caught in itself. Argh!
In my defense, it withstood the winter storms.
There is no reason why you cannot simply lash bamboo together to create a frame and put the net over it. Alternatively, you could create each frame side complete with a net and then lash the frames together.
Or you can use connectors to connect your bamboo more smoothly.
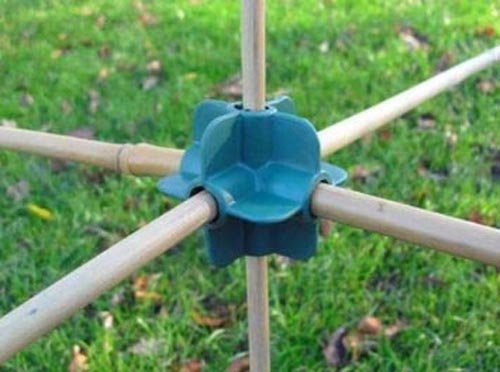
Selections GFA662 Bamboo Cane Flexible Connectors (Set of 10)
Frames Made from Hosepipe
Still basing my plans on my neighbour’s bought version I tried again. This time I used a hosepipe. This is not bad in itself but my hosepipe wasn’t stiff enough. You really need the strong blue pipe that doesn’t bend.
I stuffed bamboo up it and put that into the ground. I also had wire. The intention was that I could slide the netting up and down the wire for easy access and that it would not tangle.
Making A Strong Structure from Hosepipe
The way most people do this is to make a wooden base the size needed then to staple the curved pipe along it. Finally, they put over the net and staple that to it as well. This creates a permanent structure that fits over your beds and that can be moved when you want to.
The disadvantage of this is you have to lift the whole thing up to get to weed or get your produce.
Discovering Balls
I love netting balls. Simple things and all that. My sister finally found some in the Range and bought them for me. All you do is pop a bamboo into each corner (use extra for a longer bed) pop the balls onto the top and you have your frame. Pop the netting over the top and pin it down. Done.
Out of all the netting (including the bought), this has been the fastest and easiest to put up and also to use. Also, the cost is relatively small if you are starting out and either don’t want to or can’t invest a lot in your netting.
Alternatives: Some people use old tennis balls.
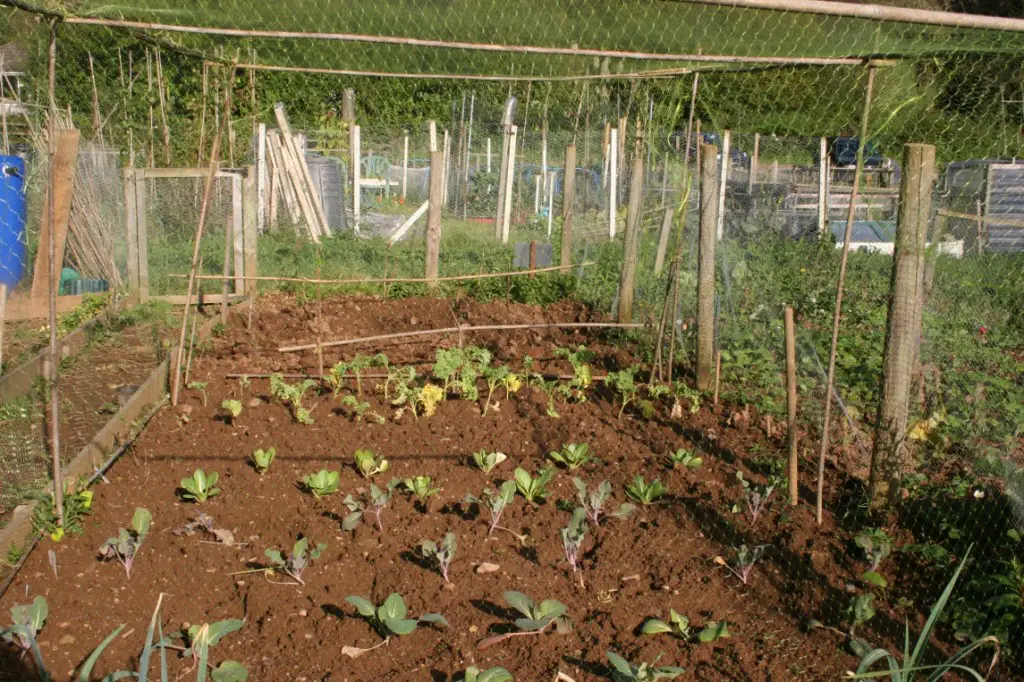
Making Larger Wooden Structures
Some people have much larger structures. These are all sizes right up to walk in frames for fruit. These are made from wood. Often recycled bits rather than bought. These are then joined together to make a box. The corners are strengthened with diagonals.
The box frame is then covered either in normal plastic netting or chicken wire.
The advantage is it is more sturdy and will last longer. It is cheap to make.
The disadvantages are that larger structures are more suited to crops that do not rotate as you will have to move them each year. Also, you will need basic DIY skills and tools to make them.
I have seen people with these covering brassicas and while they do keep off the birds they do not keep out the cabbage white (but then neither does netting!)
Is a Curved or Straight Frame Best?
I like curved simply because I like the shape better. However, plants grow up and out. A curved structure goes up and in. A lot of people use them, however, this needs to be noted when thinking about what you are going to use as it can limit growth depending on the size of the surround.
Bought Are Better?
I have a bought frame for my established fruit bushes. It simply stays there all year and I removed the net after fruiting. The advantage is that it is quite large and you can walk into it to collect the fruit. The disadvantage is also that it is large. Believe it or not, the wind took the frame and threw it across several allotments, hence the binding down one side.
Bought frames can be a considerable investment. If you are new and not sure if this is for you yet then it is probably better to stay clear of a bought frame until you are sure.
They are stronger and last longer than the temporary bamboo ones.
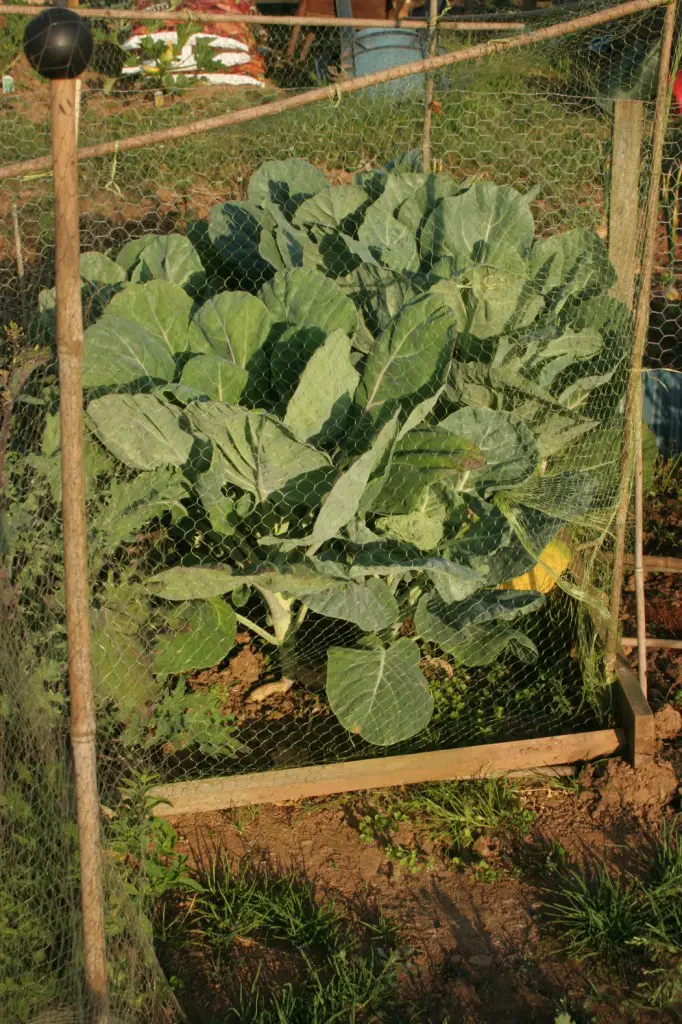
Arched Mesh for Protection
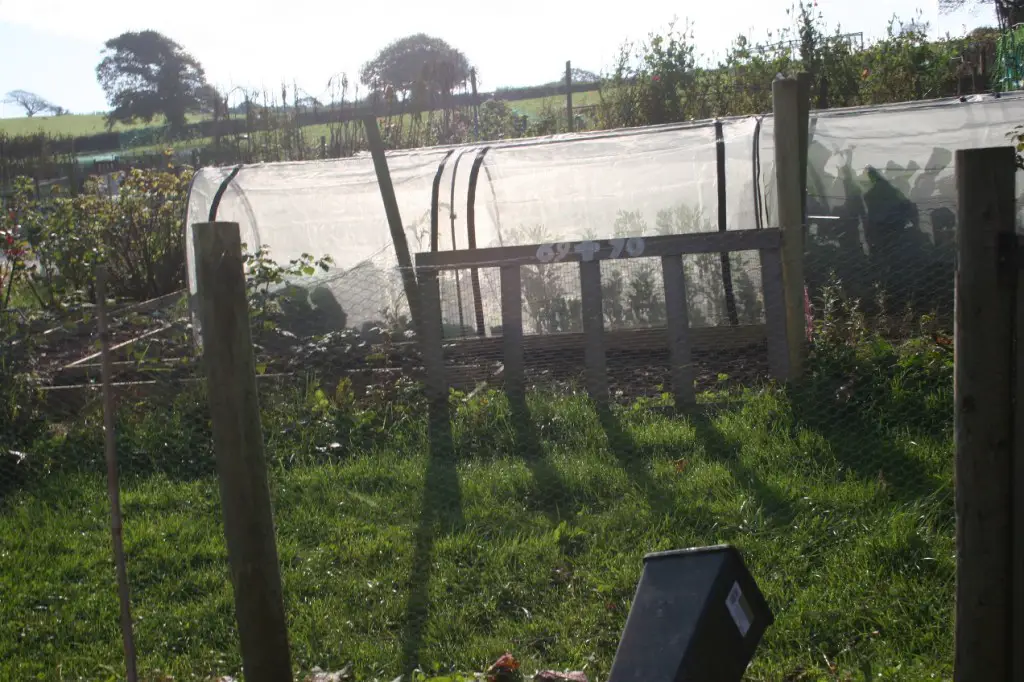
This is where my neighbour’s protection comes in. She has four beautiful arched mesh covers that she uses. Although technically a cloche, the protection is similar. The cost was around £84 each. When she wants something she just unzips them. Sigh. Now these are not so much net as mesh, which is better as the cabbage white cannot get through. The mesh does let rainwater through. There is also a fleece cover that can be used to keep plants warm in spring. They are easy and fast to put up if you take them down and can be transported from bed to bed.
The disadvantage is the initial cost. If you have something that does require insects you will need to unzip them. Also again they are quite large and my neighbour found hers strewn across other allotments last winter. You have to have the size that is for sale and not your own size.
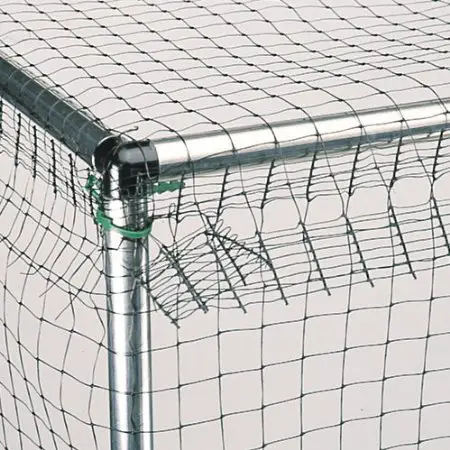
Metal Frames
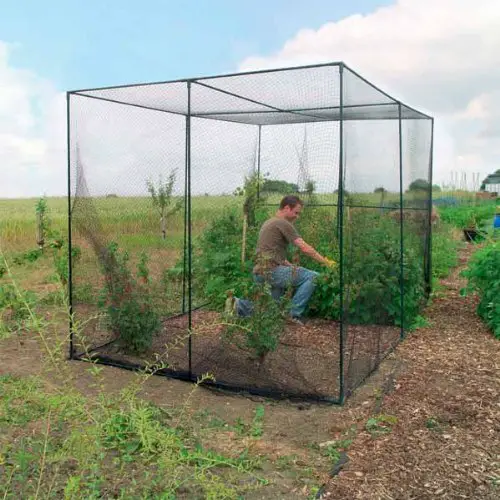
Fruit Cages
Gardman 3 x 2 x 2m Large Fruit Cage
Fruit cages come in all sizes and are not only great for fruit but also on other beds or square foot gardening.
Fruit cages tend to be 6 foot high to allow you to get in to pick the fruit. Although of course, you can use shorter ones if you prefer.
They are great because you have a solid structure that is designed not to rust that you can apply different kinds of netting to.
It is easier to attach your net to the solid frame than a crossed bamboo one.
It is a good idea to pin them to the ground to help prevent movement.
Easy Access Tip: If you use clamps on your net down one side you can undo them for quick and easy access.
Saving Money Tip: My sister discovered this. She bought a fruit frame for her veg bed when it was on offer. Then she got a larger bed. She inserted a bamboo cane between the two metal ones to extend the length of the frame. It bends a bit in the middle and is not quite so strong but it does the job and saved her buying a bigger one.
Vegetable Cages

These are pretty much the same as for fruit however they tend to be only 4 foot high which is more than enough height for most vegetables. The lower height also reduces the cost. Vegetable Cage - 4ft high x 4ft wide x 6ft long